TAKE CONTROL, with Wavecel is a six-part series of articles by one of South Africa’s most experienced skills instructors, Sean Badenhorst. The articles will help you understand key elements of mountain biking better so that you can improve your control when riding. Improved control leads to fewer falls, higher speeds and greater confidence. Part 4 deals with corners.
Paid partnership with Bontrager Wavecel
If it wasn’t for corners, mountain biking wouldn’t be nearly as challenging or fun. There are a few different types of corners such as flat turns, berms and switchback turns. Cornering smoothness comes with experience, but you need to understand how to tackle each type of turn to get the technique right first. Here’s a summarised guide.
FLAT TURNS

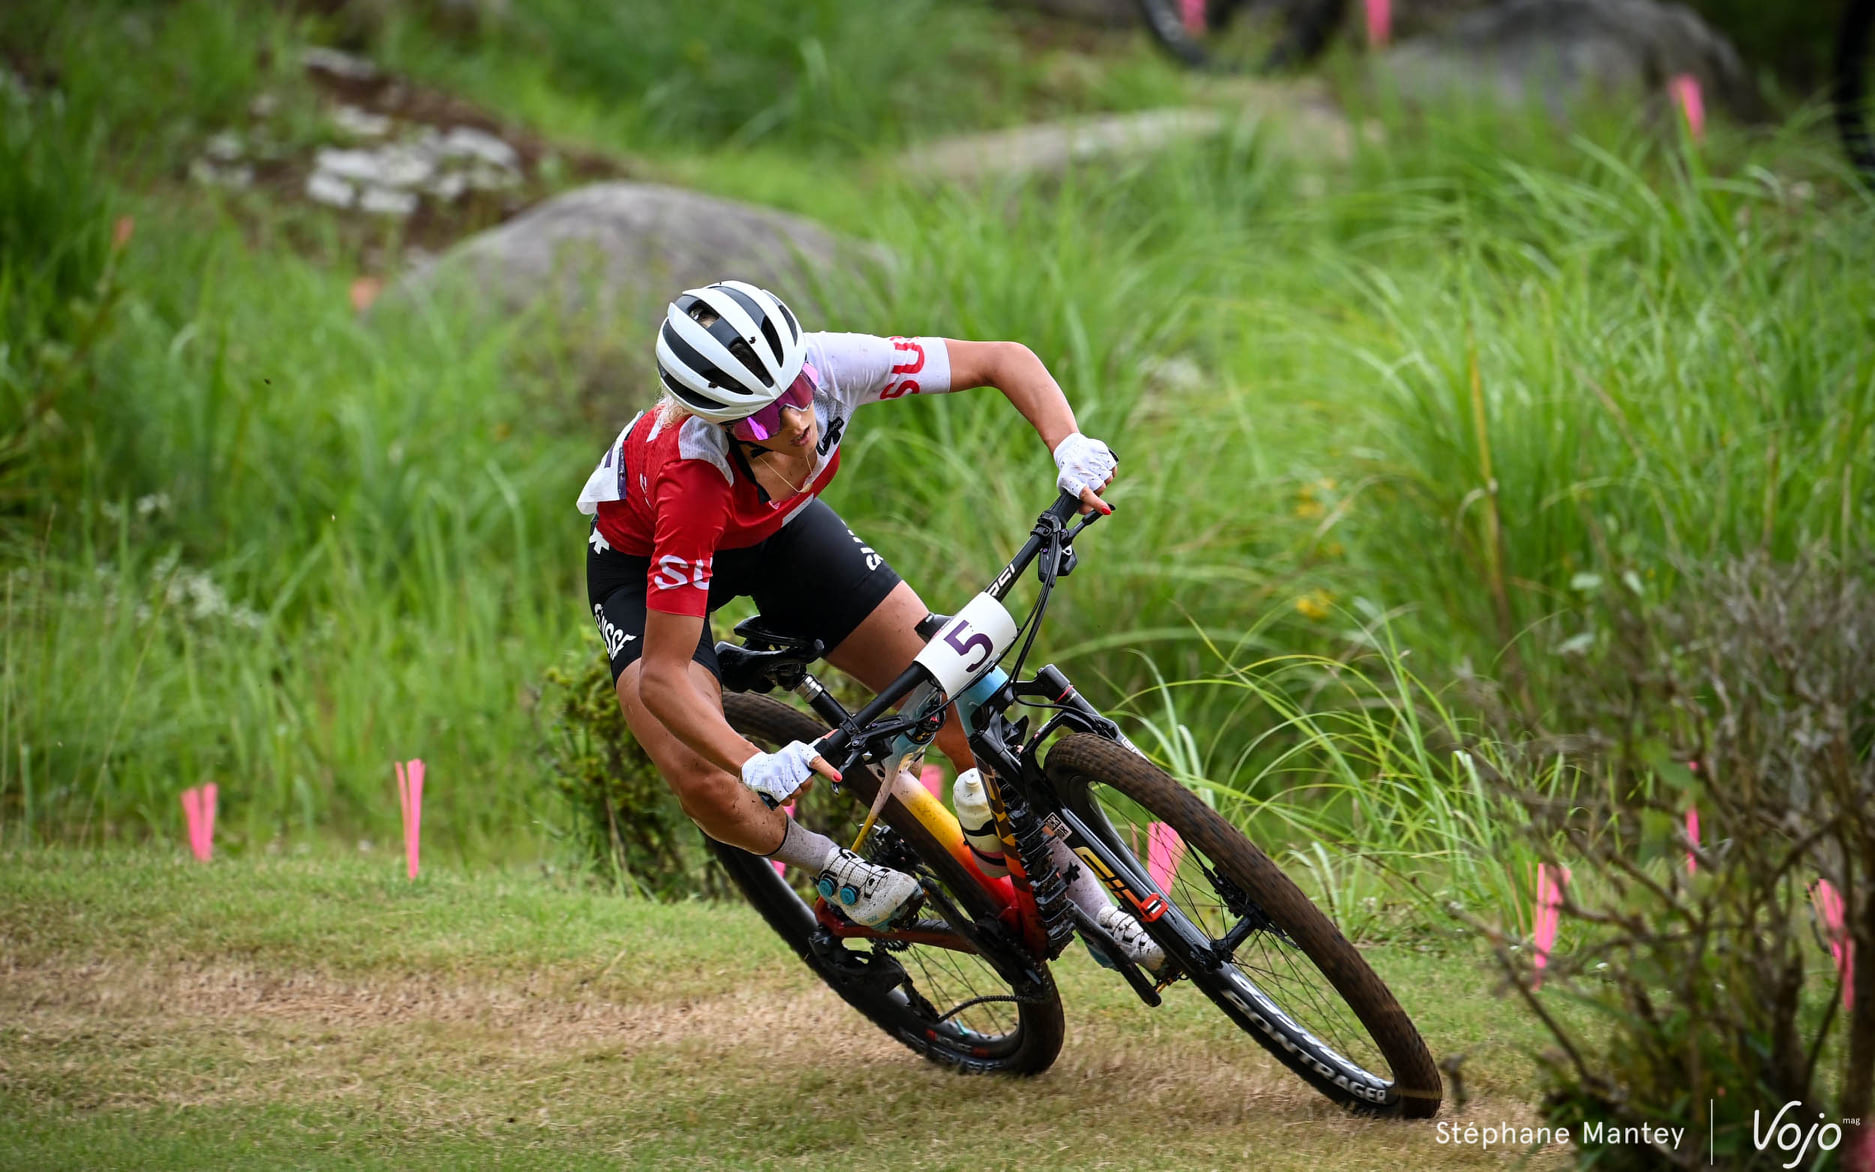
These are often places where many riders get nervous and slow right down. In a race, some riders lose loads of time in flat turns, simply because they don’t know how to conquer them.
For starters’ you need to have your weight off the saddle and on your pedals as you approach the turn. Remember, it’s a flat turn – usually on a gravel road or jeep track, maybe on singletrack – so you want to brake as little as possible and carry as much speed through the turn as possible. And with your weight off your saddle, your centre of gravity is nice and low, which makes you more stable.
In a flat turn, you are at risk of the front wheel washing out. This is where you need to go against your instinct and lean forward a bit, getting more weight over the front wheel. Front wheels wash out when they lose traction. In order to maintain traction, they need weight on them. That’s your body weight, which you can adjust according to how much is needed over the front wheel on a particular flat turn.
It’s not at all intuitive, so you have to practice it. The best place to practice is on tar. Because you have great traction on tar, you can move your weight forward with a high level of confidence, knowing that there’s little to no risk of the front wheel washing out.
To improve your flat turns, start doing this on every ride:
- Look ahead and scan the surface. If it’s sketchy and loose, slow down before you get there, if its firm, brake a touch if you need to
- Be sure you’re standing on the pedals as you enter – pedals level
- Lean forward a little to ensure the front wheel has good traction
- If you’re going quick, drop the outside pedal to lower your centre of gravity further
- Never stop looking a few metres ahead
- Once in the turn itself, focus on the exit
- If the front wheel feels like it might wash out, lean forward with more weight over it
BERMS

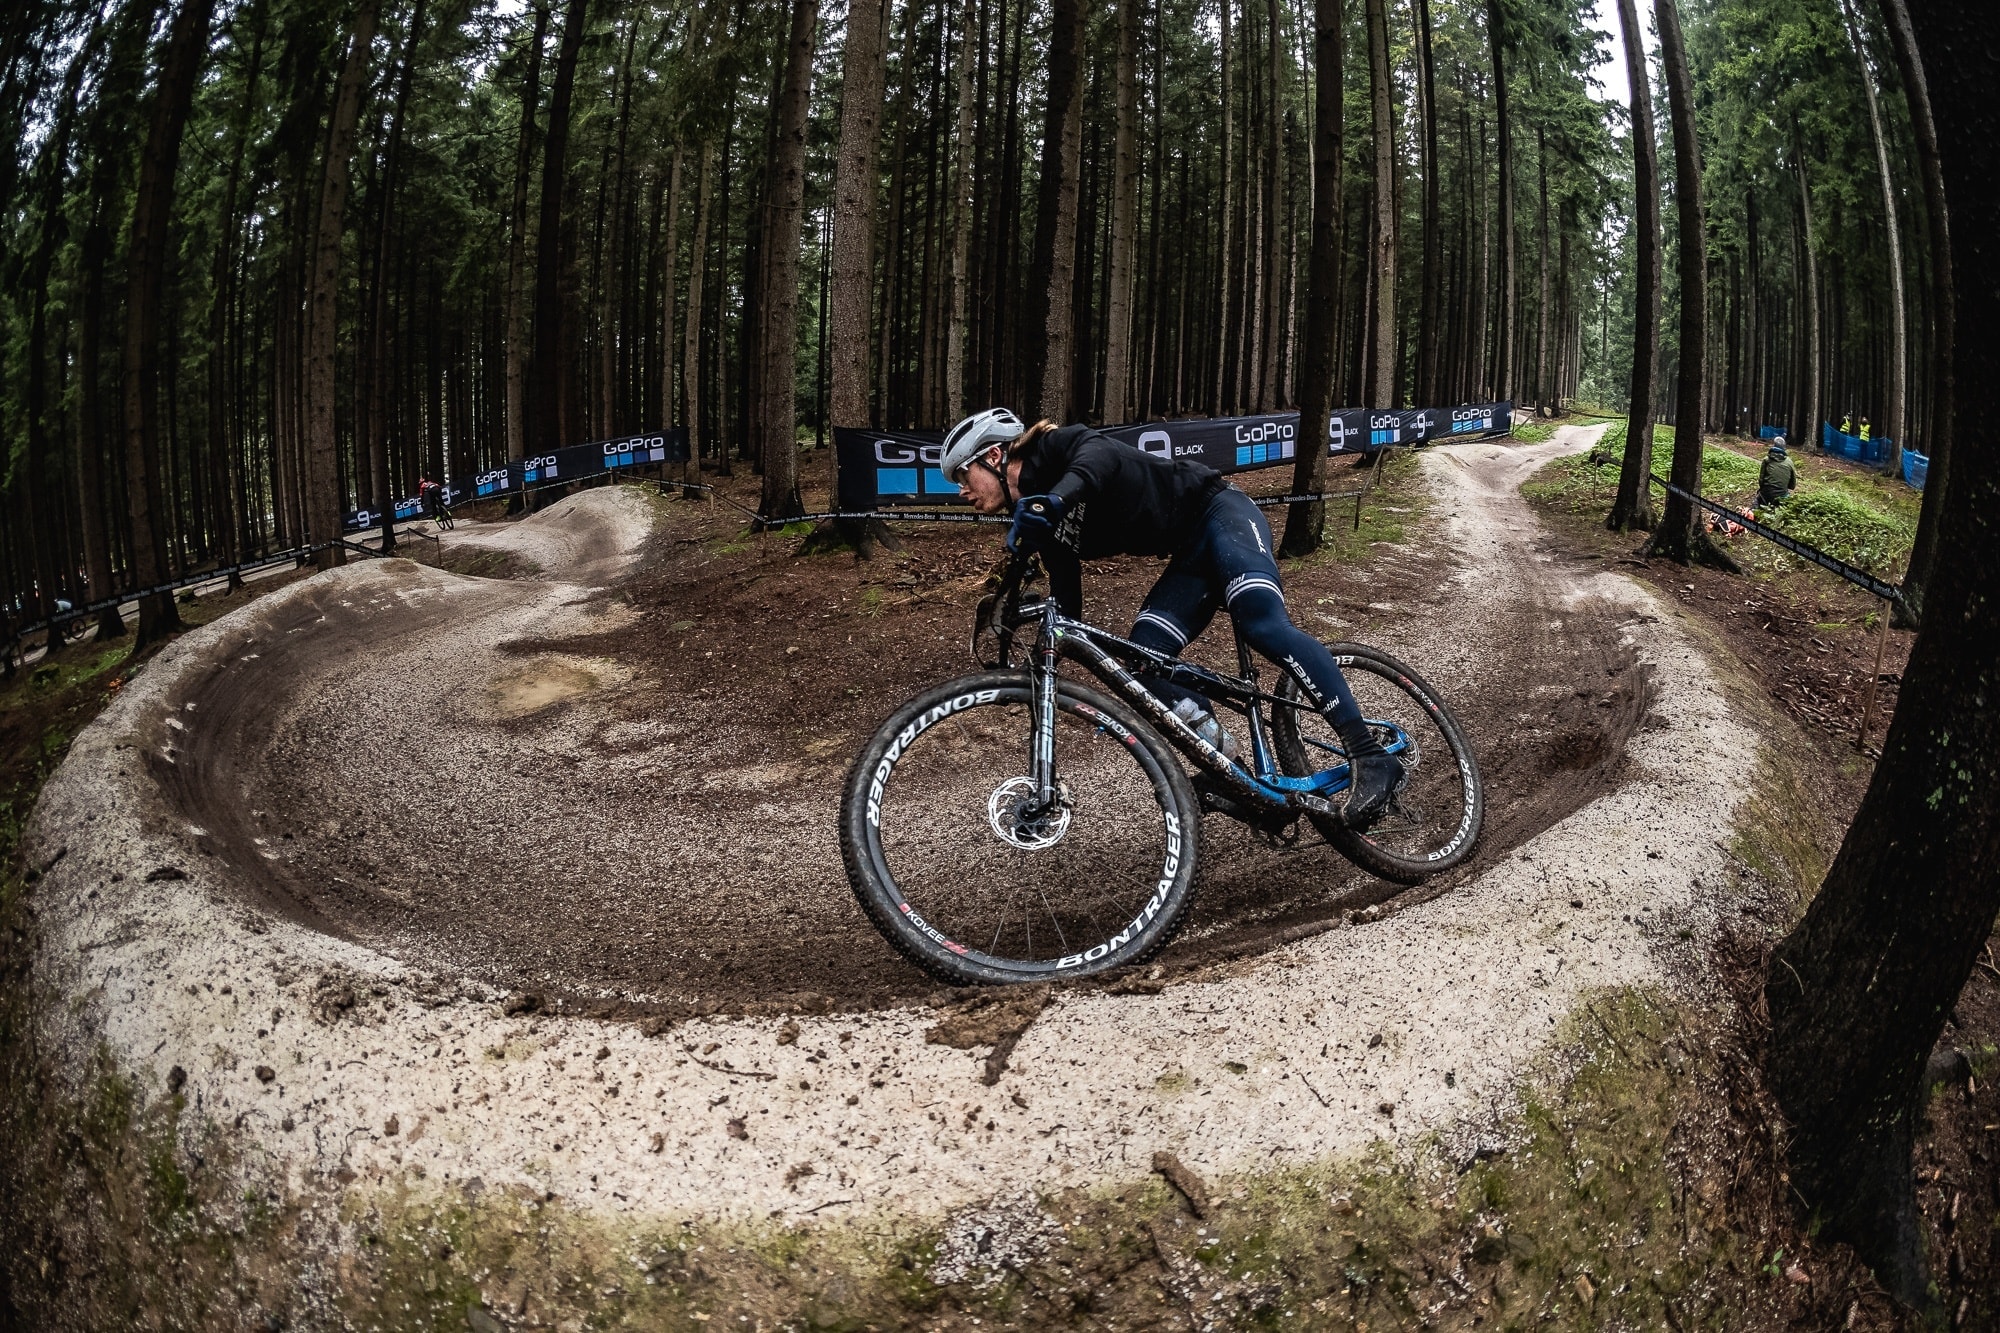
A well-made berm is designed to help you maintain your speed on the trail, or not have to scrub too much speed into a turn. The camber in your favour allows you to use the banked curve to maintain smooth momentum.
Because the berm ‘catches your wheels at an angle’, it delivers consistent traction, which means that you don’t have to lean forward much (as with flat turns), but you do still need to have your weight off your saddle and on your pedals. Your body is more centred over the bike and your pedals are pretty much level. Once you have that sorted, then you just need to think about where you’re looking and when/if to scrub any speed.
There’s usually a worn line on berms that’s there because it’s the most chosen line, but you can adjust should you need to for your own capabilities.
To improve your berms, start doing this on every ride:
- Focus on the entry point/start of the berm – where you look that’s where you’ll enter it
- Be sure you’re standing on the pedals as you enter – pedals level
- Keep your body weight centred over the bike
- Keep looking a few metres ahead – initially at the berm, then the exit
- Try ride the full berm with loose elbows and knees
SWITCHBACKS

For most, a switchback turn can be quite formidable. This is because it’s such a tight turn and you have limited momentum, so you are quite unstable. Let’s break into climbing and descending as these
Climbing: On the way up, choose a gear that allows you pedal with composure. Keep pedalling as you enter the switchback turn, but be sure to turn your head to look up the trail. A turned head twists your spine, which twists your hips and allows you to complete the switchback turn smoothly. You’ll be perched on the front of your saddle and you chest will be low over the bars to keep your front wheel from lifting.
Descending: On the way down, do exactly the same with your head, but instead of pedalling, freewheel, standing on the pedals and use both brakes to moderate your speed. As you reach the switchback turn, turn your head and the bike will follow. Stay centered over the bike to ensure you have appropriate weight over the wheels.
To improve your switchbacks, start doing this on every ride:
- Focus on maintaining stability with consistent momentum (up and down)
- Turn your head, not your handlebars. When you turn your head, your body twists in the direction of the corner and your handlebars turn in the process.
- Keep looking up, along the trail (not down at the corner)
- If it’s a wide turn, stay on the outside to give yourself more space – it’s also not as steep on the outside.
If you missed the first three parts of this series, here’s where you can find them:
Part 1: Intended Direction
Part 2: Controlled Momentum
Part 3: Managed Centre of Gravity


